DIY Holiday Gifts For This Winter
With the winter season approaching, people tend to become blissful and get in the ̈holiday spirit ̈ when thinking about seasonal Christmas movies, holiday music, surrounding decorations, and the underlying joy that many people have during this time of year. Although, the thought of getting gifts for friends and loved ones can often become stressful when trying to find something special that they will like and deserve. This becomes especially stressful for high school students under budgetary circumstances, due to the fact that most of us do not have jobs. It also does not help that we stereotypically tend to procrastinate on things that need to get done.
Since the idea of getting holiday gifts can cause so much uneasiness, here is a list of creative DIY presents you can make for your friends and family this winter:
Custom Designed Fine China
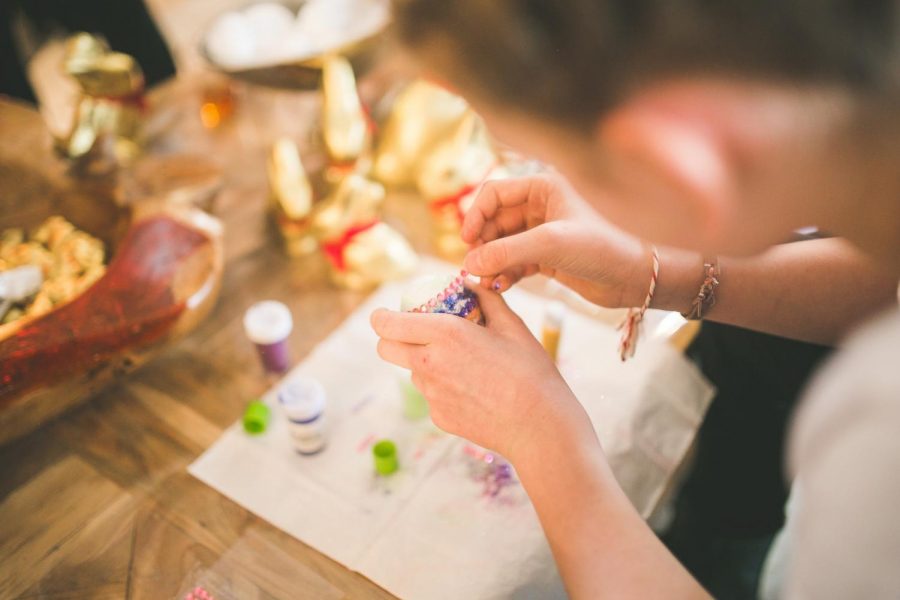
I would like to start off with one of my favorite DIY projects. It is so easy and cheap, you might find yourself doing it on several occasions. All you need is to get a bowl/mug/plate of your choice — I like getting these at Target because there is a section of plain CHEAP china perfect for this project– and special markers made for drawing on this material (I use oil-based sharpies). Make sure the surface is clean. Do your design freehand or use graphite paper to transfer the design on first before tracing over with the markers. If you make a mistake, don’t worry it’s not permanent you can just wash it off! Once you are happy with your design, go ahead and bake it in the oven at 300 degrees for 35 minutes. (I like the idea of putting hot cocoa mix in a mug).
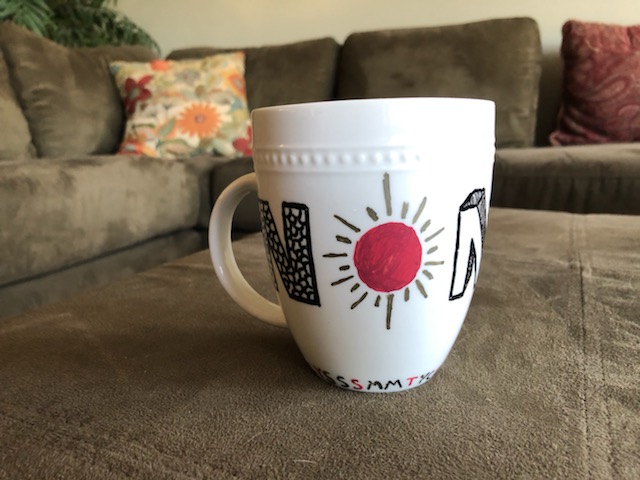
Custom Designed Fine China
Custom Rubik’s Cube
Know someone that likes puzzles and is good with the cube? What if they had one that they would match to pictures that they personally like or they have an emotional connection to rather than the same old boring colors? First you get an original Rubik’s cube and peel all the color stickers off the squares. Now all you do is pick six pictures and use an app or website to add a shade of white, red, orange, yellow, green or blue over the picture (one color for each photo). After the pictures are picked out and the photos are edited, print them out 2.25” x 2.25” (or as close as you can get), and place them over the side of the cube you are putting it on after applying a thin layer of glue, and use an exacto knife to cut each piece of the picture into the individual squares.
Photo Mosaic
Have you ever seen a photo that is made up of a bunch of little photos? That’s what I’m talking about. And I’m not asking you to do a big project by finding a bunch of pictures that will match a color tone to make up a bigger picture. That would be ridiculous. There is a wonderful website that does all that for you, then all you have to do is go to CVS or somewhere else to print it out, and perhaps get a frame for it after. Isn’t the internet amazing? https://mosaically.com
“Woodley”
Or I think that’s what they call it at those mall kiosks. Transfering a picture to a piece of wood. Step 1: Get any piece of finished wood (I like going to Michael’s for this one). Step 2: Pick a photo you would like to transfer on a piece of wood. Step 3: Edit photo by making it the size of your piece of wood (or a little bigger so there is no empty space) and mirror the image so when you transfer it later, it isn’t backwards. Step 4: Print your photo on WAX PAPER cut the size of printer paper. Step 5: Carefully and immediately place the wax paper with your printed picture onto your wood and use a credit card to press the ink diligently onto the wood.
Fortune Cookies
Ingredients
2 egg whites from extra large eggs
½ teaspoon vanilla extract
¼ teaspoon cinnamon
½ cup all-purpose flour
½ cup sugar
handwritten fortunes (optional)
1 cup semi-sweet chocolate chips (optional)
sprinkles (optional)
Fun. Easy. Quick. And if you know someone that likes them or if you have a fortune cookie message you have in mind… can it really get any better?
Preheat oven to 350 degrees. Line a sheet tray with parchment paper or Silpat. Mix ingredients until the batter is very loose. Then scoop about a tablespoon of batter onto the cookie sheet and use the back of the spoon to smooth the batter into a thin circle. Repeat to make two or three circles of batter on the sheet. Bake the cookies for 5-7 minutes or until edges begin to brown, then place your prewritten fortunes in the centers of the cookies and use a spatula to very carefully release the cookie from the tray. Now to make it into the actual cookie shape: fold it in half, then pinch the edges inward. Now your cookies are practically done! You just have to wait for them to harden for about 30 minutes. Although they probably already look amazing, I would recommend dipping the cookies into melted chocolate and perhaps adding sprinkles if it tickles your fancy (which would be added quickly after dipping them in chocolate because it won’t work after the chocolate hardens).
Memories In A Jar
A beautiful way to display a memory, and it’s very easy to do! You get a jar, fill it with oil, and add some dry flowers or something small related to the photo in it, and place your photo in the jar. Not only will it give the photo an antique look to it, but if you place it along the back of the jar, it can make it look kind of 3D and really bring you back into that wonderful moment you are trying to capture.
Puff Letters
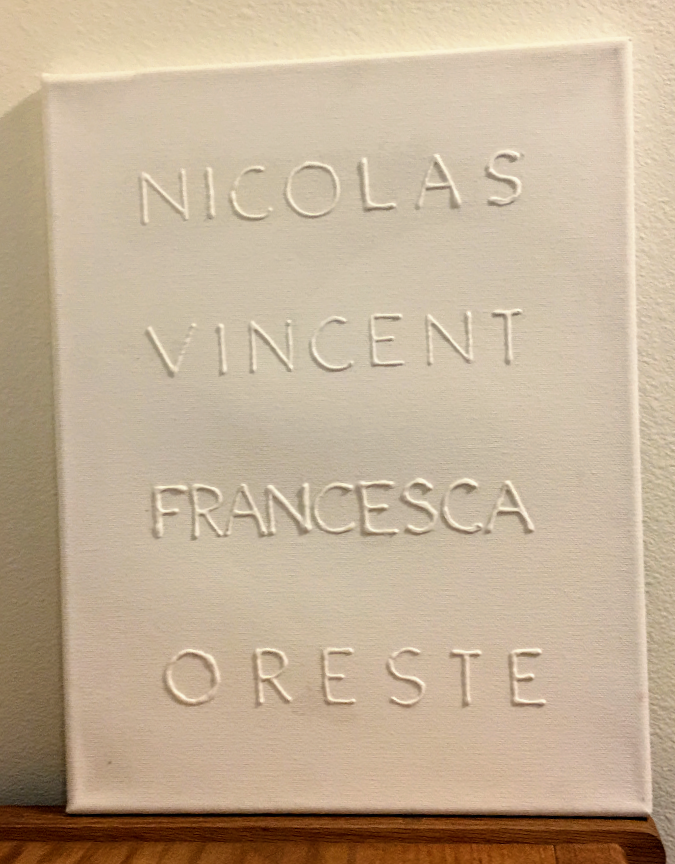
Puff letters
What are puff letters you ask? They are basically white puffed out letters you can put on a white canvas (but don’t worry, they are completely visible… it actually looks better if it is white on white). What you need is a canvas, Puffy Paint (white or matte are both fine), wax paper and mod podge. You don’t have to do this first step –free handing is fine– but whether you are doing words or a design, I recommend you print out your layout with the desired font and size you are hoping for. Once this is done, place wax paper on top and use your puffy paint to trace your design. By doing it on the wax paper first, you are guaranteeing a better product because you can redo a part if it turns out bad or gets air bubbles. Finally, peel the letters off and lay them off on the canvas, then use the mod podge to secure the letters down. It is better to use a thin paint brush and paint the mod podge on each puff letter rather than applying directly to the canvas to minimize the glare of the glue.
Edible Glitter
This one is less of a DIY gift and more of a pro tip, but it would also be cute and fun for your sweet-toothed friends. Preheat oven to 350 degrees, mix ¼ cup of sugar and ½ teaspoon of food coloring, bake for 10 minutes, and voila!
That concludes my list for DIY gifts, so why not make this holiday season a little more special for your loved ones by making one of a kind, personal presents that are fun to make and crafted with love?